Import data from XML file to Azure without programming

by

Want to import data from XML file to Azure?

Using FileToDB, a native GUI tool, you can import data from XML file to Azure easily and fast.

  • Step by step, just a few mouse clicks.
  • Avoid uploading big XML file(s) to online services.
  • Support large XML files (big than 4GB).
  • Support Windows, Linux, macOS.

Download FileToDB Download FileToDB

Here’s how to.

Example of importing XML to Azure

Example source XML file

Import Data From XML File To Azure  - source XML file

After converting, data in Azure table

Import Data From XML File To Azure  - view data

Import data from XML file to Azure

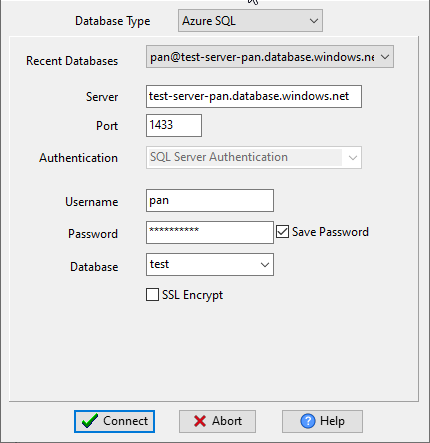
Choose Azure and logon.

Load XML file to Azure  table - Choose Azure and logon

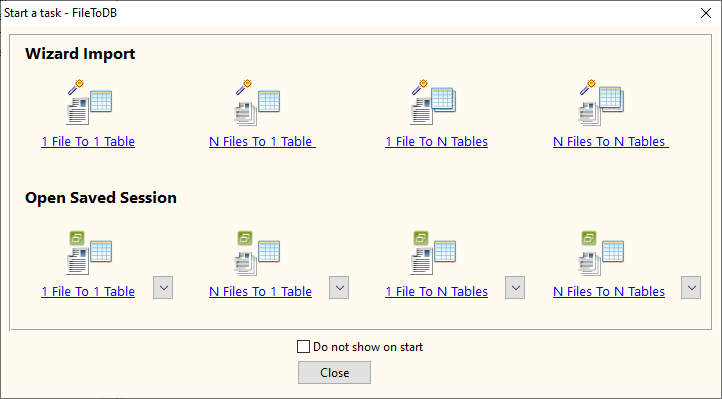
Click “Wizard – 1 File To 1 Table” at task dialog.

Import XML file to Azure  table - task window

Select the “XML” file type.

Import XML file data to Azure  table - select file type

then show the wizard.
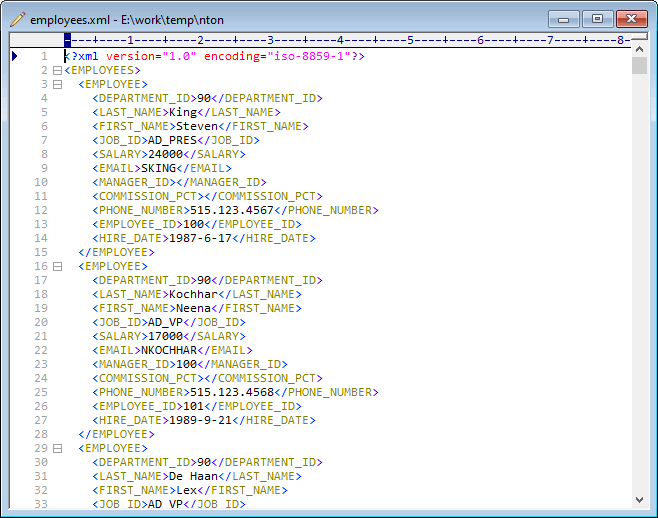
1. Open a XML file.

Import Data From XML File To Azure  - open XML file

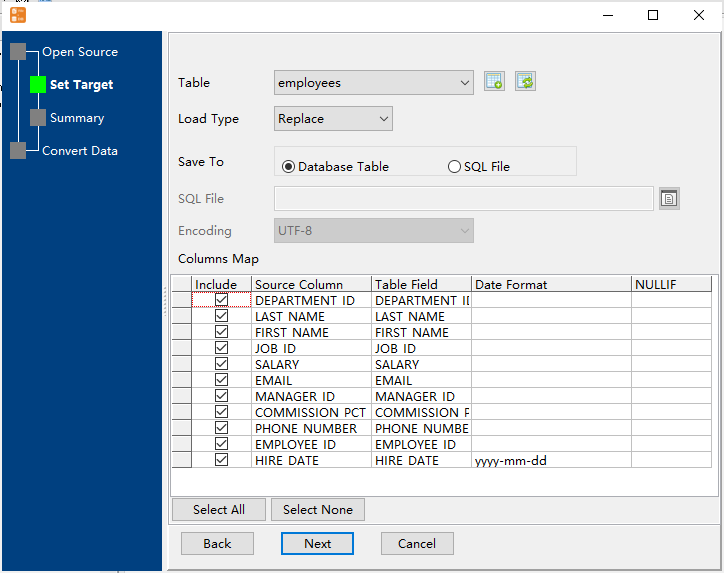
2. Select a Azure table and config fields.

Load Data From XML File To Azure  - select table

3. Preview data.

Transfer Data From XML File To Azure  - preview

4. Import XML data Azure .

Copy Data From XML File To Azure  - import data

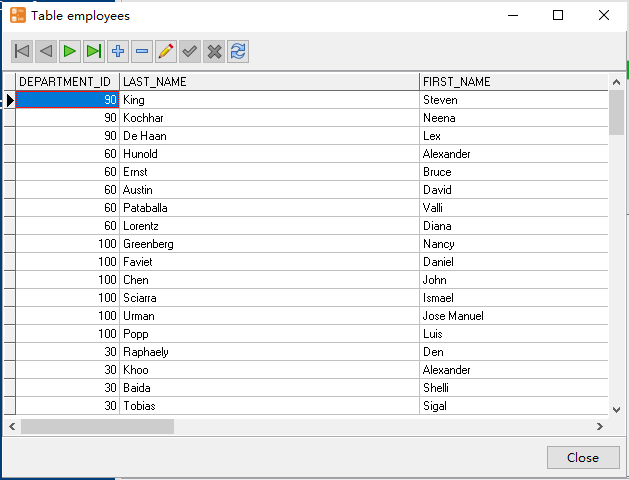
View imported data in Azure table

Copy Data From XML File To Azure  - view data

Download FileToDB Download FileToDB

Save/load session of importing XML to Azure

You can save/load session to run “XML to Azure” conversion repeatly.

1.Save Session.

Click “Save Session” button, then enter a session file name.

XML to Azure - save session

click “OK” button.

2.Load Session.

Click the “Open a Saved Session” in task window, select a session file.

XML to Azure - load session

then show the wizard form, click a few “Next” to import XML to Azure.

XML to Azure - start session

Download FileToDB Download FileToDB

Run in command line for importing XML to Azure

You can run “XML to Azure” conversion in command line.

When you save session, you can click “Save & Make Batch File”.

XML to Azure - save session

The “Save & Make Batch File” form shows.

XML to Azure - create batch file

Click “OK” button, you’ll create a batch file, in Windows, like this:

C:
cd "C:\Users\pansh\AppData\Local\Programs\FileToDB"
FileToDB task="C:\Users\pansh\Documents\test.ldr" logfile="C:\Users\pansh\Documents\test.log"

You can run this batch file in command line.

Download FileToDB Download FileToDB

Run as scheduled task for importing XML to Azure

You can run “XML to Azure” conversion automatically at specific time.

On Linux/macOS, you can use Crontab.

For macOS, How to Fix Cron Permission Issues in macOS.

On Windows, in “Save & Make Batch File” form, you can click “Create & Schedule Task” to set a scheduled task.

XML to Azure - create batch file

And then, with scheduled task wizard, step by step.

XML to Azure - scheduled task application

You’ll see created task listed in scheduled task list.

XML to Azure - scheduled task list

Download

Here you can download FileToDB, and buy FileToDB.

Download FileToDB Download FileToDB